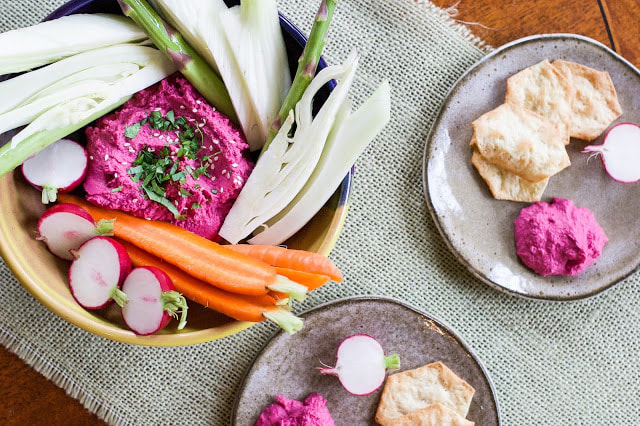
 Hello my friends! Say hello to Summer weather! After such a grueling long winter, with months of clouds and rain, we now have the blue skies we have been longing for. To celebrate this wonderful change in seasons I have two super tasty recipes to share with you today. One was inspired by my favorite restaurant in town, the Temple Bar. I have never really eaten hummus as a meal. But after having such a wonderful experience, I am now a hummus advocate, especially in the summer. No longer is hummus just a spread or a dip for an easy snack, but it can easily become a hearty and satisfying meal...just make the portion size larger! Plus once you try the recipes below...you will never want to go back to store bought hummus...honestly. These recipes are creamy, super tasty, and budget friendly. A win-win situation. Secrets on How To Make The Perfect Hummus First of all the big difference is I start with dry chickpeas. If you want a creamy, smooth, and delicate hummus, you have to start from scratch. Trust me, the little extra forethought is worth it! Otherwise you will get chunky, thick, and gritty hummus. Secondly, you must choose Pedrosillano Cafe Garbanzo Beans. These smaller versions of your traditional chickpea, are the choice for hummus makers because they are creamier in consistency and have a nuttier flavor. Luckily you do not have to look far. If you live in Bellingham, you can find these in the BULK section of the Bellingham Food Co-op. For the rest of you, if you can't find them at your local health food store, I encourage you to purchase them online. Thirdly, especially for the traditional hummus, try serving it warm. Yes, warm! Of course you can still eat it cold, but warming up the hummus increases the aroma and tastes much more satisfying and satiating than cold hummus. At least...in my opinion. Versatility of Hummus Many people enjoy hummus with vegetables and crackers like shown above. However, you can serve hummus as a base, topped with grilled or baked fish. You can even top it with some lamb or grass-fed beef. Also, you can layer hummus like a "bean dip". Simply put a layer of hummus in a dish, top with finely diced cucumber, bell peppers, or tomatoes, and fresh herbs, drizzle with olive oil and sprinkle with salt. This is great for easy dipping! Of course you can also use it as a spread on sandwiches and wraps. However, I just love the simplicity of serving it alone with fresh seasonal veggies (raw, steamed, or roasted), especially in the summer. Now get soaking! Whether you make the beet or traditional version, you will love it! 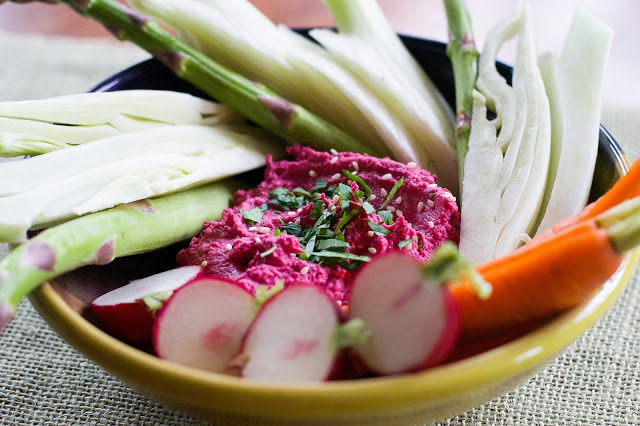 Traditional Middle Eastern Hummus Hummus made from scratch is easy, cheap, and the quality is far better than what you can find at the grocery store. I personally love to make a batch of traditional hummus, scoop out half from the processor, and then add additional spices or veggies for some extra FLAVOR and FUN. Then I have two flavors in one single batch. Alternatively, you can make a whole batch of beet hummus if you want (recipe below). Also, hummus freezes wonderfully! If this batch is too much hummus, put half in the freezer for another warm Summer day. Makes about 3 cups (serves 4-6) INGREDIENTS 1 cup dried Pedrosillano café garbanzo beans (smaller chickpeas) 1 1/2 teaspoons baking soda, divided 1/2 cup tahini paste (organic toasted) Juice of one large lemon (~3-4 tablespoons) 3 garlic cloves, coarsely chopped 1 teaspoon Real sea salt Extra virgin olive oil Maldon's Salt (optional, but almost necessary in my opinion) Other Add In's If Desired Fresh Herbs (oregano, thyme, rosemary, etc) Spices (chipotle, cumin, curry, etc) Steamed or roasted beets or carrots Additional Toppings Smoked paprika (optional) Roughly chopped parsley (optional) DIRECTIONS Place the chickpeas into a bowl and cover with double their volume of cold water. Add 1 teaspoon baking soda to the chickpeas. Soak the chickpeas overnight, at least 12 hours. The next day, drain and rinse. Place the soaked chickpeas and remaining ½ teaspoon baking soda in a medium saucepan and cover with double their volume of cold water. Bring to a boil, then simmer on low for 30-45 minutes, or until soft and easy to mush. Spoon off foam during cooking. Add more water during cooking if necessary to keep them immersed. Strain the chickpeas and retain a little of the liquid. Alternatively, you can cook the chickpeas in the InstantPot on high pressure for 8 minutes. Then let the pressure naturally release for ~10 minutes, then release the vent manually. Transfer the warm chickpeas to a food processor, add the tahini, 1/4 cup lemon juice, garlic, and sea salt. Process for 1-2 minutes, or until totally smooth. Add some of the cooking liquid if additional liquid is needed and process again. You want the mixture to be very soft and smooth. Taste and add more salt if you like. Keep warm. At this point if you want to make a half/half batch, transfer half of the traditional hummus into a glass container. Then add 1-2 steamed medium beets for a beet hummus, some roasted carrots for carrot hummus, or 1-2 tablespoons chopped fresh herbs (like oregano, thyme, rosemary, etc) to the processor and blend until smooth. Sometimes I like to add some chipotle powder or smoked paprika to my beet hummus or some cumin to my carrot hummus. There are so many wonderful ways to adapt the traditional hummus recipe! To serve, place some of the warm hummus on a plate, and drizzle with olive oil and add a pinch Maldon's Sea Salt. Sprinkle with paprika and fresh parsley if desired. If the hummus has cooled down already, then reheat for 30-60 seconds in the microwave, stir, and add toppings. Adapted by Selva Wohlgemuth, from Plenty by Yotam Ottolenghi Pretty in Pink Beet Hummus Makes about 4 cups (serves 4-6) INGREDIENTS 1 cup dried Pedrosillano café garbanzo beans 1 ½ teaspoons baking soda, divided 2 medium steamed red beets, peeled and quartered ½ cup tahini paste (organic toasted) Juice of one lemon (about 3-4 tablespoons) 3 garlic cloves, coarsely chopped 1 teaspoon Real sea salt ¼ teaspoon chipotle powder (optional) Extra virgin olive oil Maldon's Sea Salt DIRECTIONS Place the chickpeas into a bowl and cover with double their volume of cold water. Add 1 teaspoon baking soda to the chickpeas. Soak the chickpeas overnight, at least 12 hours. The next day, drain and rinse. Place the soaked chickpeas and remaining ½ teaspoon baking soda in a medium saucepan and cover with double their volume of cold water. Bring to a boil, then simmer on low (very gently) for 30-45 minutes, or until soft and easy to mush. Spoon off foam during cooking. Add more water during cooking if necessary to keep them immersed. Strain chickpeas when done. Transfer the warm chickpeas to a food processor and add the beets, tahini, lemon juice, garlic, sea salt and optional chipotle powder. Process for 1-2 minutes, or until totally smooth. You want the mixture to be very soft and smooth. Taste and add more salt if you like. Keep warm. To serve, place some of the warm hummus on a plate, and drizzle with olive oil. Sprinkle with Maldon's sea salt. Note: For how to instructions on steaming beets check out this recipe for steamed beet salad. Are you a hummus fan too? What is your favorite version hummus? Share below!
Eat Happy, Selva
0 Comments
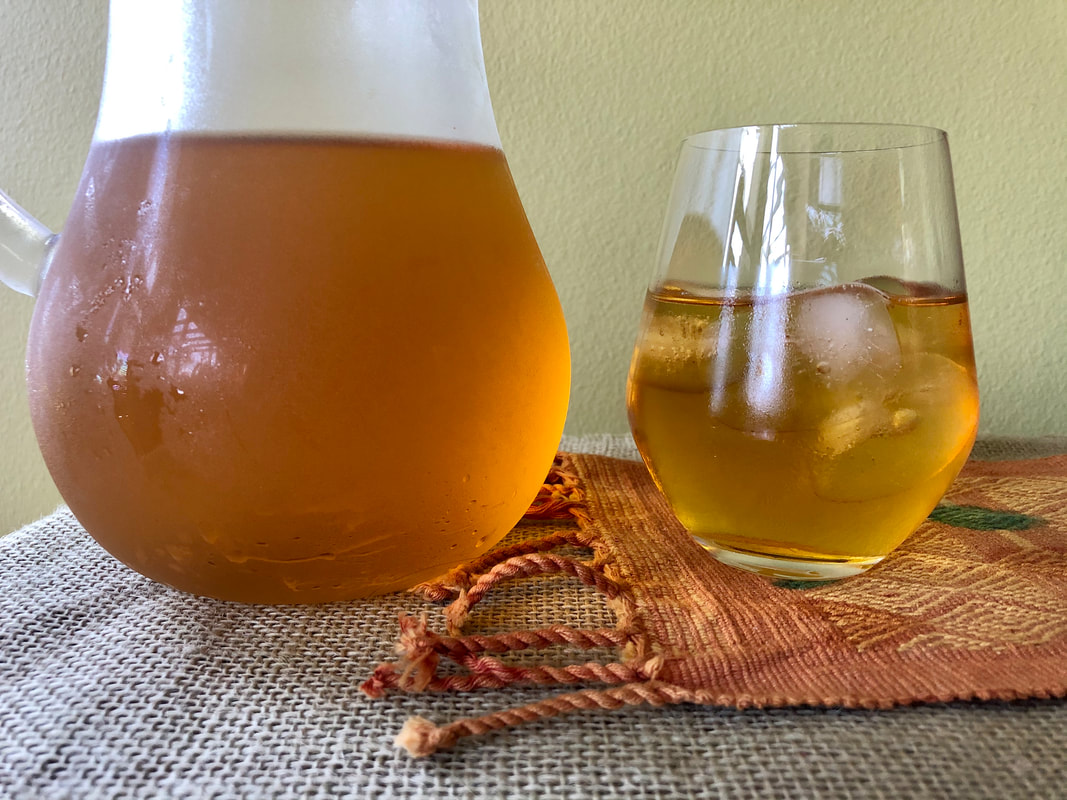 Have you ever tried making COLD INFUSED GREEN TEA?? It's color ranges between a beautiful golden amber hue to a light yellow-green depending on the tea that it used, is light in flavor, and by some considered "sweet" in comparison to the strong bitter flavor of hot tea because the tannins are not extracted. This also makes cold brew more gentle to drink, as tannins can irritate the gut causing nausea or discomfort in some people. Interestingly, research has found that cold brew green tea is much higher in antioxidants called polyphenols than the hot water infused tea alternative. It does take some time, but it doesn’t take much effort on your behalf. Plus, cold brew green tea is much lower in caffeine than hot brew, containing about half the amount of caffeine per serving (~15mg per cup). This makes it a wonderful alternative for caffeine sensitive individuals and anyone looking to boost their polyphenol intake! Of course, you have all heard that green tea is good for you…but why?? The polyphenol in green tea called epigallocatechin gallate (EGCG) has been found to be effective against multiple aspects of cancer development and progression and can be considered a safe and effective approach to cancer prevention and therapy. Furthermore, researchers have found that EGCG activity is enhanced by the presence of vitamin C (like lemon juice)! Some studies have also looked at green tea and its ability to improve skin health, reduce acne, and may also provide protection from UV damage and sunburns. In terms of gut health, due to its rich polyphenol content, regular green tea consumption encourages the growth of beneficial microbes called Bifidobacterium. Research has also found that green tea consumption may help offset the dysbiosis (imbalance of good and bad bacteria) and inflammation caused by high fat diets. Since green tea is in the top 100 polyphenol rich plant foods, no wonder it can do so much good! 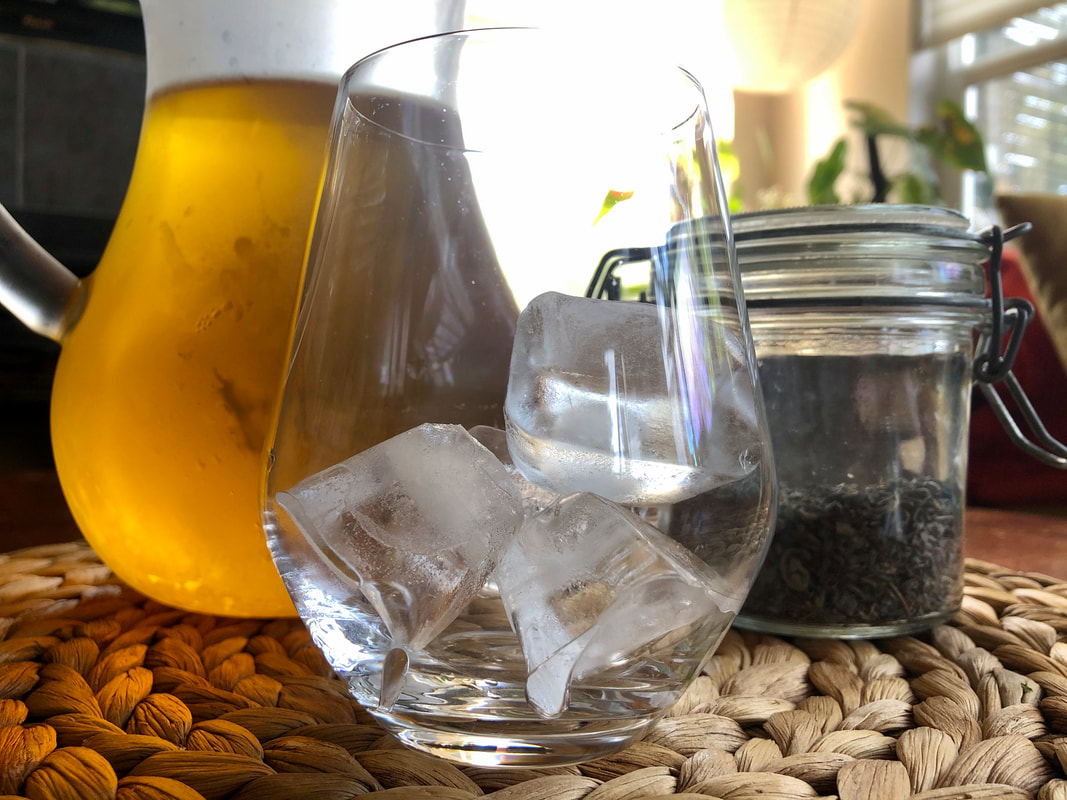 Cold Brew Green Tea With the summer weather upon us, and cold beverages a pleasant delight, I hope you will try to make your own cold brew green tea. There are various types of green tea you can try. I personally have used jasmine green tea for a lighter more floral option and gunpowder for a robust earthy flavor. Choose any green tea that you enjoy! Add a squeeze of lemon to enhance the properties of EGCG or add a splash of cream for a bit of decadence. Drinking 2-3 cups of cold brew green tea daily can provide many powerful anti-inflammatory and gut friendly benefits. Makes 8 cups INGREDIENTS 2 tablespoons loose leaf organic green tea 8 cups of filtered water Optional Add-ins (when serving): Freshly squeezed lemon juice Rose water Mint leaves Organic Half and Half or Cream Sweetener of choice DIRECTIONS Add 8-10 cups of filtered water into a large stainless steel pot. Stir in loose leaf green tea. Cover with lid and place into refrigerator. Allow the tea to infuse for 6-8 hours, or even overnight (see note below). Stir briefly every few hours if able. Also give it a good stir before straining. Stirring gently agitates the leaves to encourage the diffusion of the polyphenols into the water. The more often you stir, the more flavorful and potent the brew. Pour the infusion through a fine mesh sieve into a large bowl with a pourable lip. Transfer the strained cold brew into glass jars/bottles. Store in refrigerator. Enjoy plain, with a squeeze of fresh lemon juice (enhances the activity of the ECGC), a ¼ tsp of rose water for an extra floral aroma (this pairs nicely with jasmine green tea or emerald cloud green tea), a sprig of fresh mint, or a splash of cream (pairs well with the more robust gunpowder green tea). Add sweetener if desired and pour over ice. *Note: The longer you infuse the tea, the more robust the flavor. If this is your first time making it, try your cold brew at 6 hours and then decide if you want to infuse it longer for more flavor. Are you going to give this a try?? Let me know what you think!
Eat Happy, Selva
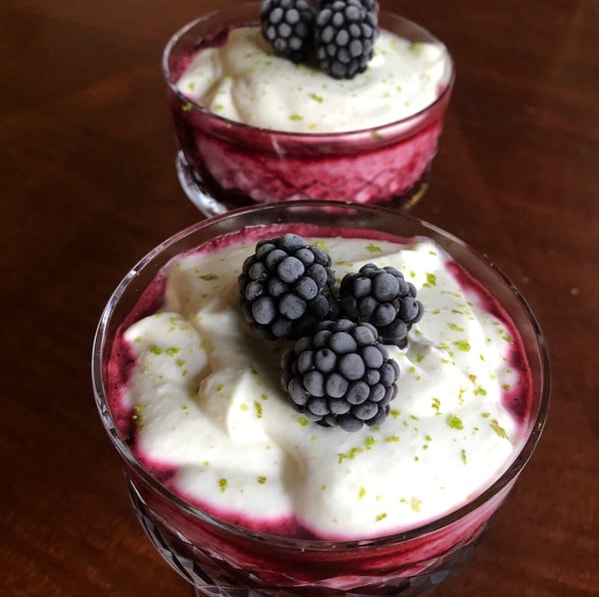
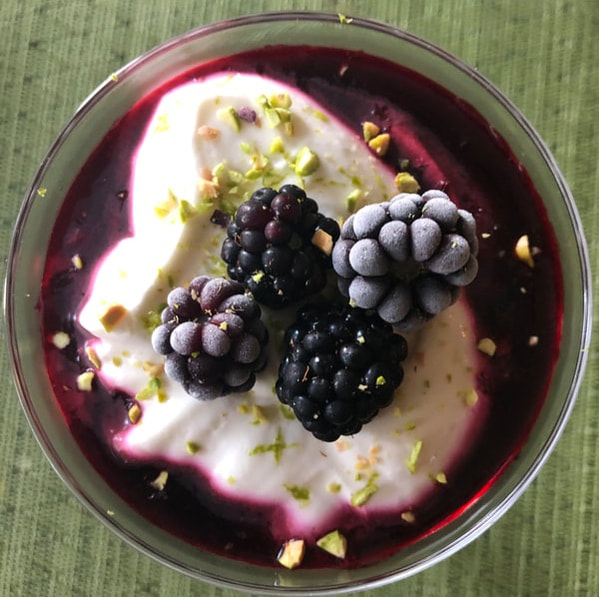
Late Summer Blackberry Fool
This is such a refreshing delight, especially at the end of the summer when blackberry season is in full force. However, you can use any berry that is currently sweet and ripe. Makes 6 servings Time: 30-60min (including refrigeration time) INGREDIENTS 3-4 cups blackberries + 12-18 extra (to freeze) 2 tablespoons sugar 1/2 cup heavy whipping cream 2-3 tablespoons sugar 2 cups Greek yogurt (regular plain yogurt works too) Lime juice and zest Optional: 1 teaspoon rose water Toppings: frozen blackberries, chopped pistachio, lime zest DIRECTIONS Place the 12-18 individual blackberries on a plate in the freezer until ready to serve. In a small saucepan cook blackberries and 2 tablespoons sugar until broken down and reduced, ~ 10 minutes. Add additional sweetener if desired. Place a fine mesh sieve over a bowl. Pour blackberry mixture through fine mesh sieve to strain the seeds. Use a spoon to scrape the mixture through the sieve. Pour 3-4 tablespoons of the berry sauce into each of the 4-6 glasses (you may have some leftover depending on how many servings you make). Chill in refrigerator. Meanwhile, beat the heavy cream and 2-3 tablespoons sugar until soft peaks form. Add the yogurt, juice of 1/2 lime, zest of 1/2 lime, and rose water. Continue to whip the yogurt mixture until smooth and creamy, or about 1-2 minutes. Divide the yogurt mixture into the glasses. Cover and set to cool until right prior to serving. Sprinkle with finely chopped pistachios and lime zest, and top with frozen blackberries. Note: you can use honey in place of sugar if you like. Adjust the amount based on preference. |
RecipesI hope you enjoy my creative, flavorful, and nutrient dense approach to whole foods cooking. All recipes are gluten free. Archives
December 2022
Categories
All
|
 RSS Feed

|

|
Providing custom functional nutrition therapy since 2015.
Follow HBN on Social Media!
©Happy Belly Nutrition, LLC 2015-2023